phpMyAdmin installation via Apt package manager create multiple directories:
/etc/phpmyadmin – Configuration files /var/lib/phpmyadmin – Library and tmp directries /usr/share/phpmyadmin – Main phpMyAdmin installation
Step 1 – Backup phpMyAdmin
You should take a back up of your current phpMyAdmin directory. However, I have just renamed it to phpmyadmin.bak at the same location.
Step 2 – Download Latest phpMyAdmin
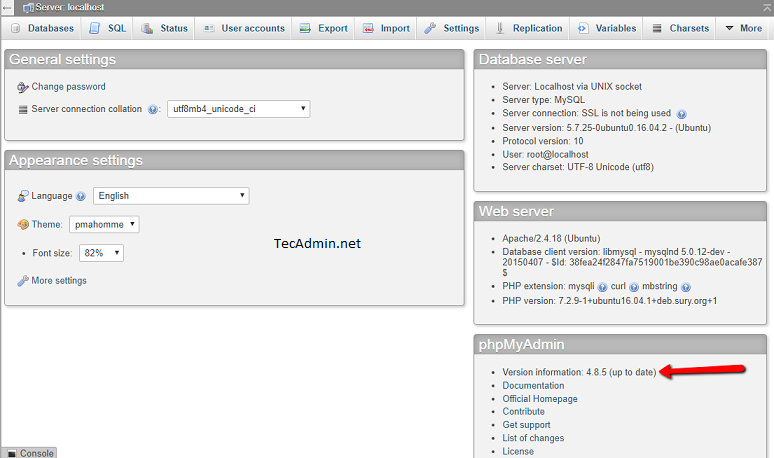
Now, download the latest phpMyAdmin archive file from its official download page. During last update of this article phpMyAdmin 4.8.5 is latest version available for download. You will see a directory phpMyAdmin-[VERSION]-all-languages in the current location. Move this latest directory to the appropriate location.
Step 3 – Update Configuration
As I told the existing phpMyAdmin was installed with Apt package manager. Therefore you need to specify the TEMP_DIR and CONFIG_DIR location under the vendor_config.php file. Edit vendor_config.php file in your favorite text editor and update the following values. Save the file and access the phpMyAdmin in a web browser.
All done. In conclusion, you have the latest phpMyAdmin running on your Ubuntu system.