This article will help you for step by step setup of Subversion (svn) server on Ubuntu 18.04 LTS & 16.04 LTS systems.
Step 1 – Install Apache
First of all, you need to install the Apache webserver to access the svn server using HTTP URLs. Skip this step if you already have Apache web server on your system.
Step 2 – Install SVN Server
Use the following command to install subversion packages and their dependencies. Also, install svn module for Apache libapache2-mod-svn packages on your system. After installation, enable required Apache modules and restart Apache service.
Step 3 – Create First SVN Repository
Use the following commands to create your first svn repository with name myrepo. Also, set the required permissions on newly created directories.
Step 4 – Create Users for Subversion
Now create first svn user in /etc/apache2/dav_svn.passwd file. These users will use for authentication of svn repositories for checkout, commit processes. To create additional users, use following commands.
Step 5 – Configure Apache with Subversion
Subversion Apache module package creates an configuration file /etc/apache2/mods-enabled/dav_svn.conf. You just need to make necessary changes to it. Save the file and restart the Apache service to apply the new configuration.
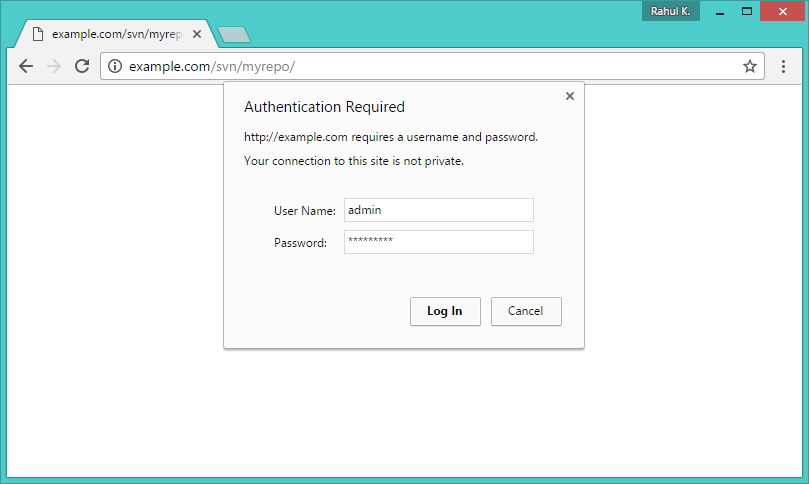
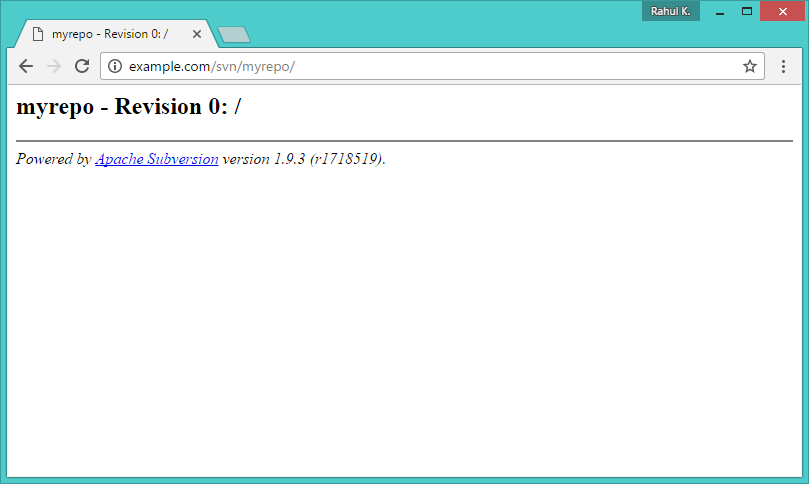
Step 6 – Access Repository in Browser
Use HTTP URLs to access your repository in the browser. It will prompt for authentication. Use login credentials created in Step 5. Change example.com with your system hostname, domain name or IP address.
Thank You for using this article. Read our next article How to Backup and Restore SVN Repository in Linux.