Pexels
Step 1: Import the Image
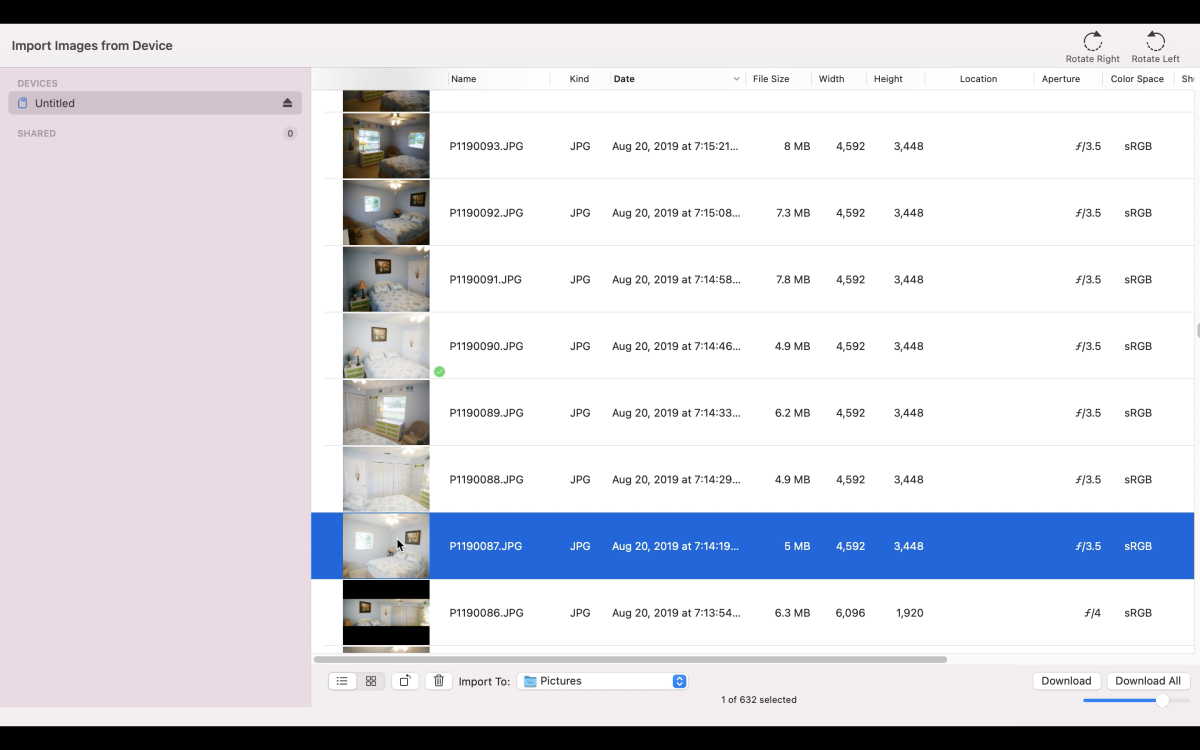
If you haven’t already uploaded the image for resizing, start by clicking on the file tab. Next, find import from the drop-down menu and click it. From the drop-down menu, choose images from the device. File → Import → Images from Device Select your image from a device or cloud service to add it to Photoshop. Your image is now ready to be edited. For reference, right-click on the area in the bottom left corner to see what the dimensions of the photo are. For this project, I would like to reduce the pixel height from 4,592 to 3,000.
Step 2: Change Image Dimensions
To change pixel dimensions, select the image tab followed by the image size selection from the drop-down menu. File → Image Size The image size settings menu will appear. If you would like to increase the size of this menu, you may adjust the size by pulling the lower right corner to the size of your liking. By default, the image dimension may appear in inches. To change this, choose the drop-down that contains the measurement and select the correct measurement. Take note that the little chain icon must have a link on each of its sides. Each will be pointing at the width and height measurements. This will allow for proportionate changes when either the width or height is changed. To fit the image on a webpage perfectly, the pixel width must be reduced to 3,000. Doing so will also reduce the height proportionately. Clicking OK will execute these changes. As you can see, the image did shrink to its new size.
Step 3: Export an Image
The image can be exported in a few easy steps. First, click on the file tab. Then select the export option. A drop-down menu will appear. Choose the quick export as PNG option. File → Export → Quick Export as PNG Select the location to save your file and click save. This content is accurate and true to the best of the author’s knowledge and is not meant to substitute for formal and individualized advice from a qualified professional. © 2021 Joshua Crowder


