Whether you’re looking to minimize your possessions, or to simplify and secure access to your old photos, videos, and documents, consolidating the data from a variety of devices onto a single drive will help you achieve both of these goals.
Group All Devices Together
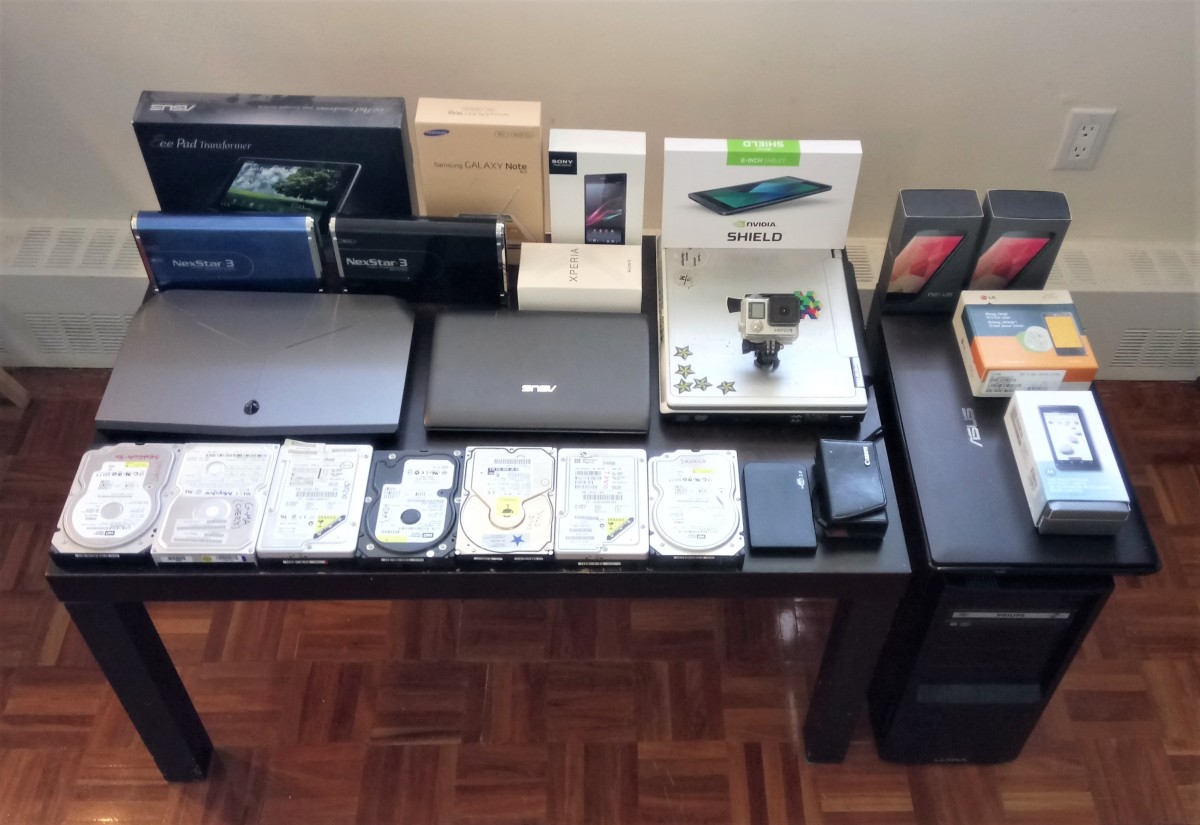
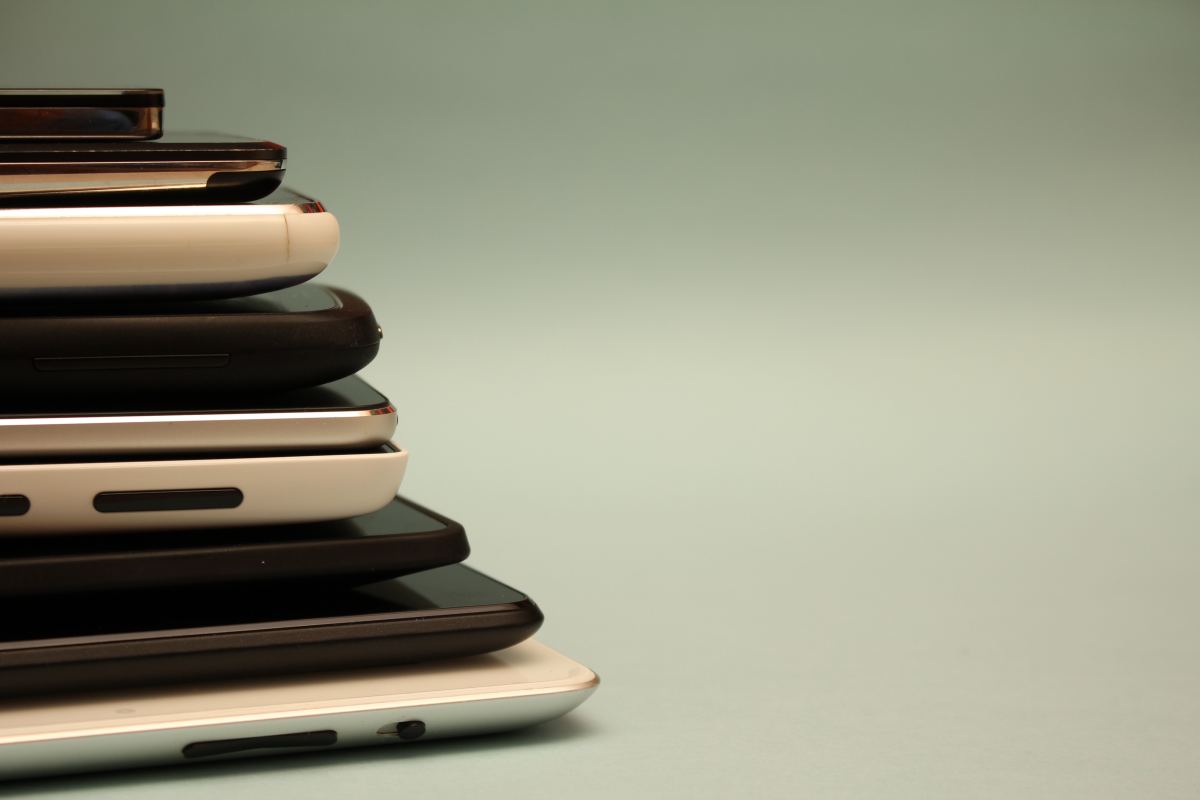
Depending on how many devices you own, extracting the data from each and every one of them could span over the course of weeks or months, depending on how much time you’re able to dedicate to this endeavor. Find yourself a box or plastic bin, and put every data-holding device you own (that you’re not actively using daily) into it. Once all devices are grouped into one place, they will be easier to work with (and you might be shocked to see how many devices you own).
Add Names to Internal Hard Drive Labels
For desktop PCs and laptops that are no longer in use and that are no longer able to boot up, remove their internal hard drives. Sometimes, corrupted operating system files, or issues with other physical internal components, may prevent a computer from booting up, but files may still be accessible by connecting the drive via USB to another working system. Once the internal hard drives are removed, they generally have a label on them with a variety of information. For each hard drive you remove, perform the following:
Make a List of All Devices and Their Storage Capacities, and Add Them Up
In a notebook or digital checklist, create a list of every individual device, hard drive, and SD card, as well as their storage capacity. Once you begin the process of copying the data from all of these devices, you may only have time to do one device per day or week, depending on how much free time you have, so this list will be used to track your progress. Be sure to separate the list of devices by owner, if you’ll also be copying data from various devices belonging to others, such as your spouse or family members. With all devices and storage capacities written down, calculate the total amount of storage of all these devices combined. Cell phones and tablets should have this information on their original packaging. Otherwise, this info should be available in the device’s settings. Remember to include the storage capacity of any SD cards which are currently inside any phones or tablets.
Buy Two Identical External USB Drives
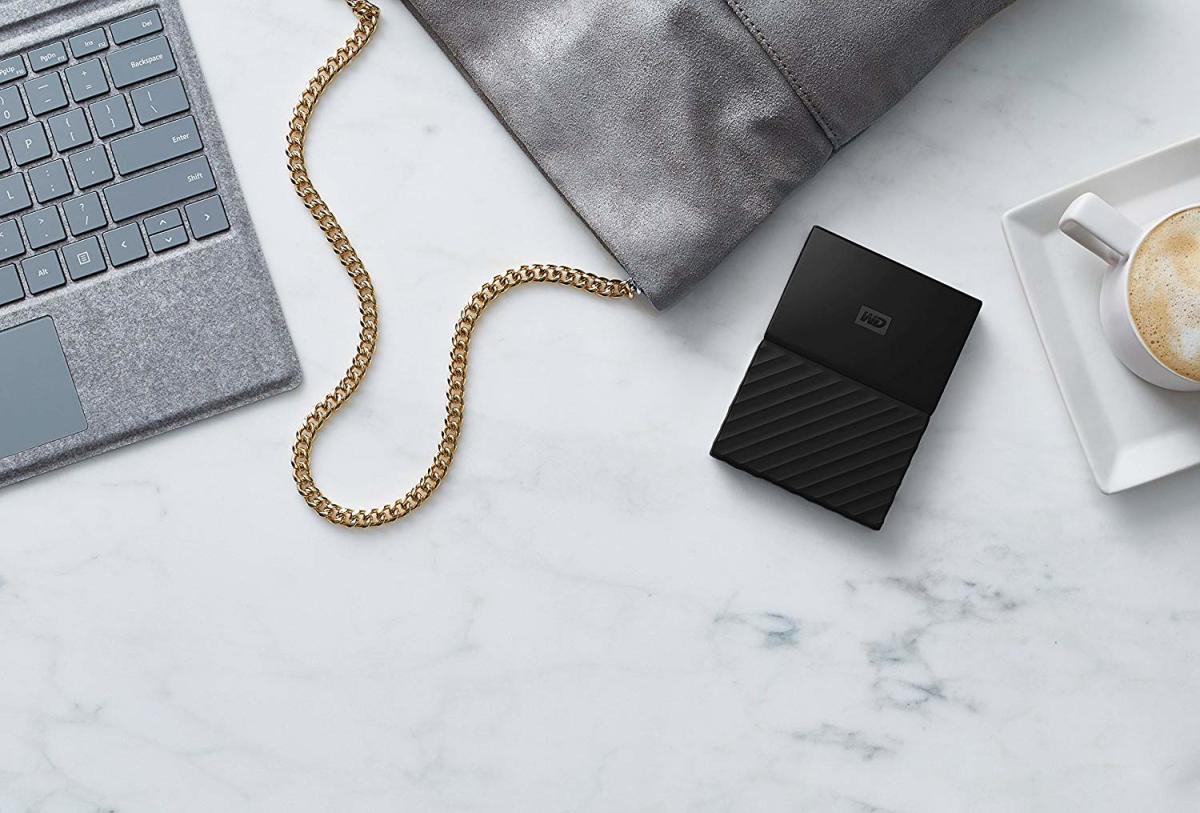
Once you determine how much storage all your devices take up, double that number, and purchase two external USB drives around that size. Therefore, if all your device capacities add up to around 1TB (1 terabyte) in size combined, buy two 2TB USB drives. Doubling the amount of storage you currently need will allow for “future-proofing”, meaning you will be able to continue to use these drives for additional data backup requirements for years to come. The reason two USB drives should be purchased is that the second one will be used to create a truly secure backup of the data from all your devices. Any data that exists only on one device at any given time is at risk. If such a device were to crash or get damaged, it could be costly or impossible to retrieve the data. As a minimalist, I highly recommend ultra-portable external hard drives. They’re self-powered over USB, and take up next to no physical space.
Label the New External USB Drives
In an inconspicuous spot underneath the new USB hard drives, take a marker and write the number “1” on one drive, and the number “2” on the other. This will help identify your primary and secondary drives in the future, without having to plug them in.
Create a Folder Structure on the New External Drives
Connect USB drive “1” to a working computer. Within the root (main/top) folder of the drive, create a folder and an empty text file: You should end up with the following: Repeat the process for USB drive “2”, while ensuring that the empty text file is named HDD2.txt for this drive: Once done, safely eject HDD2, since for the next while we’ll be focusing on HDD1. With HDD1 connected, navigate to the “data” folder, and create sub-folders for various data owners and their devices, using the list created earlier. You should end up with a folder structure that resembles the following:
Copy Data From Each Device to the New External USB Drive
The next step is to copy data from each device into its respective folder created previously, onto HDD1. When you copy data from an old device onto HDD1, don’t get rid of that device yet. Wait until you synchronize that data to HDD2, as detailed in a later step.
Data from working desktop PCs and laptops
Connect HDD1 to the working computer and copy all desired files to the corresponding folder on HDD1. If taking data off a Windows machine, the quickest/easiest way might be to just copy the entire “C:\Users" folder over, and sort the data later. Some people may have a bad habit of saving files in the top-level of the “C:" drive, too, so be sure to check there for any personal files.
Data from loose desktop PC/laptop internal hard drives
There are a few ways you might be able to get the data off of these, but the easiest would be to connect them to a working computer via an enclosure. This way, you’ll be able to connect them just like a regular USB device. There are a number of variances when it comes to internal hard drive connectors. You might have one or more of the following hard drive types:
IDE 2.5 inch (laptop size) SATA 2.5 inch (laptop size) IDE 3.5 inch (desktop PC size) SATA 3.5 inch (desktop PC size)
It’s important to acquire the correct enclosure(s) for your drives, but once you connect each enclosed drive to a working computer, you can grab the data off them from the same locations suggested in the “Data from working desktop PCs and laptops” step above.
Data from SD cards, USB sticks, and other removable media
These ones are probably pretty straight-forward. Plug them into a working computer and copy their contents to their corresponding folder on HDD1. Little known fact: data on some uncommon memory card formats (such as Sony Memory Stick Duo cards) may be accessible by inserting them into standard SD card readers. Try inserting them from side to side in the reader and your computer may make a sound indicating a successful connection.
Data from Android phones and tablets
Newer Android devices should allow for easy plug and play access to files when connecting to a computer. Don’t forget to copy the data from any inserted memory cards, and remove them from the device once done, for later steps in this tutorial.
Synchronize the Two External Hard Drives
Now that all your data from all your devices has been copied to HDD1, it’s time to copy it all to HDD2, so that the data exists in two places. Simply connect both drives to a working computer, and copy everything from within the “data” folder in HDD1, to the “data” folder in HDD2.
Keep the Second Drive at a Friend’s House
Not only will having a second drive with another copy of all our data protect us in case one of the drives were to fail, but we can take it a step further. Make a deal with a trustworthy friend to keep HDD2 at their house, and offer to keep their hard drive at your house in return. Keeping a backup of each other’s data offsite will protect both of your personal files in the event of a house fire, for example. With HDD1 still in your possession at home, you’ll likely continue using it as your own backup drive by adding, removing, and sorting various files on it. Be sure to set a biannual calendar reminder (at least) to bring HDD2 home from your friend’s house to re-synchronize. Remember, if HDD1 crashes or gets damaged, anything that hasn’t been synchronized to HDD2 may be lost, so the more often you re-sync, the better.
Cash, or Trash?
Once we’re sure that data from our old devices exist on HDD1 and HDD2, we have to decide whether we’re going to sell or trash those devices. But not so fast! Before parting with any device, it’s important to realize that simply deleting files on it, formatting a hard drive, or factory resetting a device, does not guarantee that the data on that device has been destroyed and rendered inaccessible. If there is any concern that data secretly residing on one of your old devices might be accessed by someone who gets their hands on that device, you’ll either have to physically destroy the device, or use a specific method or software to officially wipe the device.
Safe Disposal of Data and Devices
Below are suggestions for the proper disposal of various devices and their data.
SD cards, USB sticks, and other removable media.
Large capacity SD cards and USB sticks can be purchased very inexpensively these days, so it probably won’t be worth your time to try and resell your old ones. If you have a bunch of small capacity memory cards and sticks laying around, keep one or two of the larger capacity ones, and unless you have an immediate plan to re-purpose other smaller-capacity ones for something, best to simply cut them in half with cutting pliers and discard.
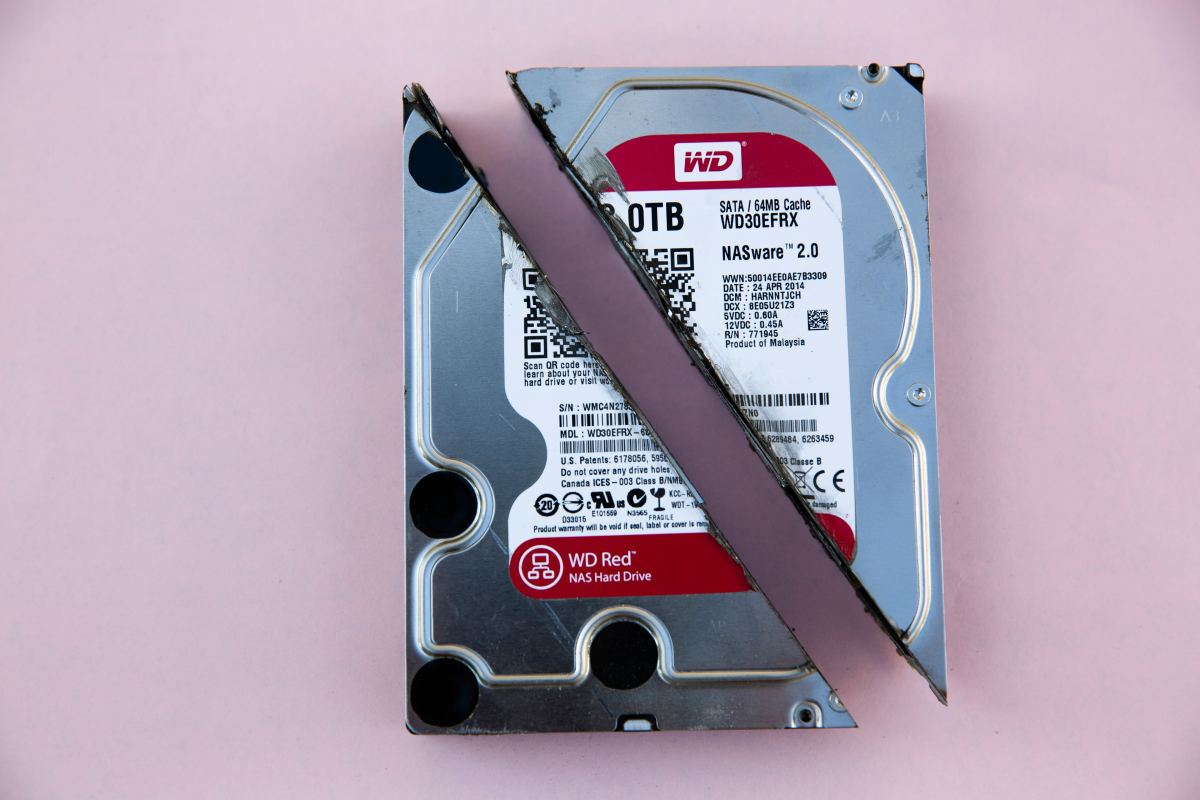
Loose internal hard drives from laptops and desktop PCs
Similar to SD cards and USB sticks, unless you have an immediate plan to re-purpose them, bring them to an electronics recycling center that has available hard drive shredding. They will physically destroy your old hard drives before your eyes for a small fee. If there is no such service near you, drill a few holes through each drive and smash it up with a hammer before discarding, to eliminate the chance that someone will find the drive and gather the data within. If the drive has a decent enough storage capacity to sell, ensure to wipe all data off the drive first, by using drive-wiping software, such as the shred command on Linux.
Working-condition laptops, desktop PCs, smartphones, and tablets
Depending on the age, specs, and condition of these devices, you may still be able to resell them. You’d definitely want to ensure your device has been properly wiped before selling to a stranger through an online marketplace. If you’re passing the device on to a friend, you may think that although some digital fragments of your own past may still exist hidden within the device, there’s no concern your friend will forensically dig them up. However, performing one last bit of due diligence will mean you won’t have to worry about whether or not they will properly dispose of the device when they’re done with it. Wiping a computer drive clean using specialty software isn’t really an option before reselling working devices, since you’d likely be wiping the operating system off the drive along with all data, rendering the computer unusable. Depending on the operating system of the device, you’ll have to carefully perform certain steps to ensure the storage is truly being wiped. Here are a few examples:
Windows 10 Android Mac
Laptops and desktop PCs that no longer have internal hard drives
Since these don’t contain any data, they can be sold or brought to an electronics recycling center without concern.
Once You Get It Done, You Will Feel Great
Although this process can be quite lengthy and may inevitably require you to spend money to accomplish various tasks, once done, a great amount of physical and mental space will be cleared up in your home and your mind. © 2019 Steve B
Comments
charleszsmith on February 14, 2020: Data migration is a process that cannot be easily described. This process takes a lot of time and preparation. That’s why you need to read this article at https://spinbackup.com/blog/migrating-from-g-suite… about the migration of your data from G Suite to Office 365. It helped me a lot when I needed some guidance with it.